A Thorough Guide to Cleaning Your Mountain Bike
| Sep 21 , 2020
So you’ve got yourself a mountain bike, and it’s well used (and if it’s not, what are you doing reading this? Get out there and use it!). Are you looking after it, though? After all, the better you look after it, the longer it’ll last, and the more adventures you can have on it!
Now, this is not one of those blog posts that’s full of excitement, I’m afraid. But it is practical! The best way to keep your bike in tip-top condition is to keep it clean. Dirt can quickly accumulate on your bike—not just on the wheels and suspension, but in the nooks and crannies like the cassette and drive chain. And if you don’t keep on top of it, it won’t take long before your lovely, shiny machine is creaking and inefficient—and nobody wants that!
So, here is what you need to do to give your mountain bike a good clean:
Step One: Gather Everything You Need
Firstly, you’ll need the space to clean your bike—may be your back garden or your drive.
Then gather:
- A bike washstand. Yes, you read that right. In fact, many trailheads have them these days. They not only keep your bike off the ground while you’re cleaning it, but you can also rotate it 360 degrees—making the whole job much easier.
- An assortment of brushes and cloths: One large brush, one soft brush and a couple of cloths should suffice. You can use the large brush on the wheels and frame, and the smaller brush on the chain and cassette. Did you know our booicore changing mat is the perfect tool to help with this job? Just lay it next to where you are working with all of your equipment on it—and you’ll always have what you need at hand!
- If you’re really serious about bike cleaning, then you may want to invest in a specialist chain cleaner featuring brushes and magnets—makes the job much easier (and much less messy). If not, just use a small hard brush.
- A hose and water supply. Do not use a pressure washer as this can strip the grease from your bearings.
- To avoid damaging the paintwork on your bike, your best bet is to invest in some specialist bike-cleaning liquid.
Step Two: The Pre-wash
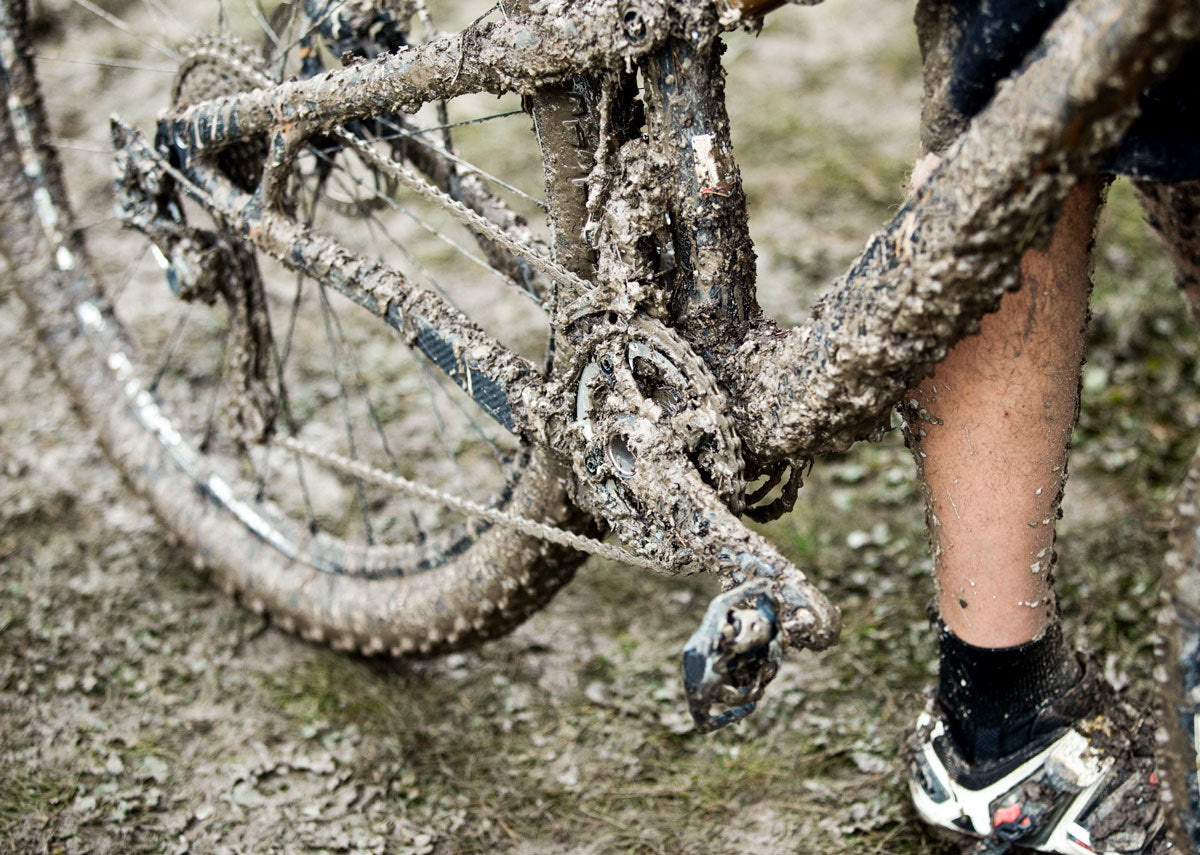
This stage is all about removing the worst of the caked-on mud—and is where the hose and water come in. Start with the tyres, using the hose to dislodge any dirt from the treads, before hosing the bike from top to bottom.
Step Three: Washing the Bike
Once you’ve removed the worst of the caked-on dirt, spray the whole bike with your chosen bike cleaning fluid. Leave it to sit for a few minutes, to work its magic, and then gently scrub the bike—including those hard to reach areas such as the cassette, chain and derailleurs. Once you’ve done this, hose the bike again from top to bottom.
Step Four: Deep Chain Cleaning
One of the most important areas to clean properly on a bike is the drive chain—and you can do this with a specialist chain cleaner or a hard brush and some degreaser. The easiest option is to use a chain cleaner to remove particles and debris, but you can scrub it with a small brush too. Once you’ve cleaned the chain, take the wheels off and scrub behind the seat stay and chainstay—as these will be hard to reach otherwise.
Step Five: Dry and Lubricate the Bike
Once you’ve finished washing your bike, it’s time to dry it off carefully with a soft dry cloth—taking time to ensure no water remains anywhere, especially on bolt heads which can easily rust. You should take the chain off and run it through a soft cloth as well, to ensure no water remains. Finally add lubricant to the chain, wiping away any excess and ensuring you don’t get any lube on the brake discs.
Step Six: Finishing Touches
If you really want to go all out, you can apply a silicone spray to your mountain bike to give it a lovely shine—being careful not to get any on your brake or disc pads, of course.
As you can see, following our bike cleaning tips will give you much more than just a shiny bike to ride the trails on—it will prolong the life of your bike and make it run more efficiently for longer. It’s important to not neglect your bike as this could lead to drive chain wear which can be really expensive to repair.
So what are you waiting for? Pop on your booicore horn hand tee, grab your freshly polished bike and hit the trails—it's time to shred!

